Youtube에서 검색!
Ledger Live 는
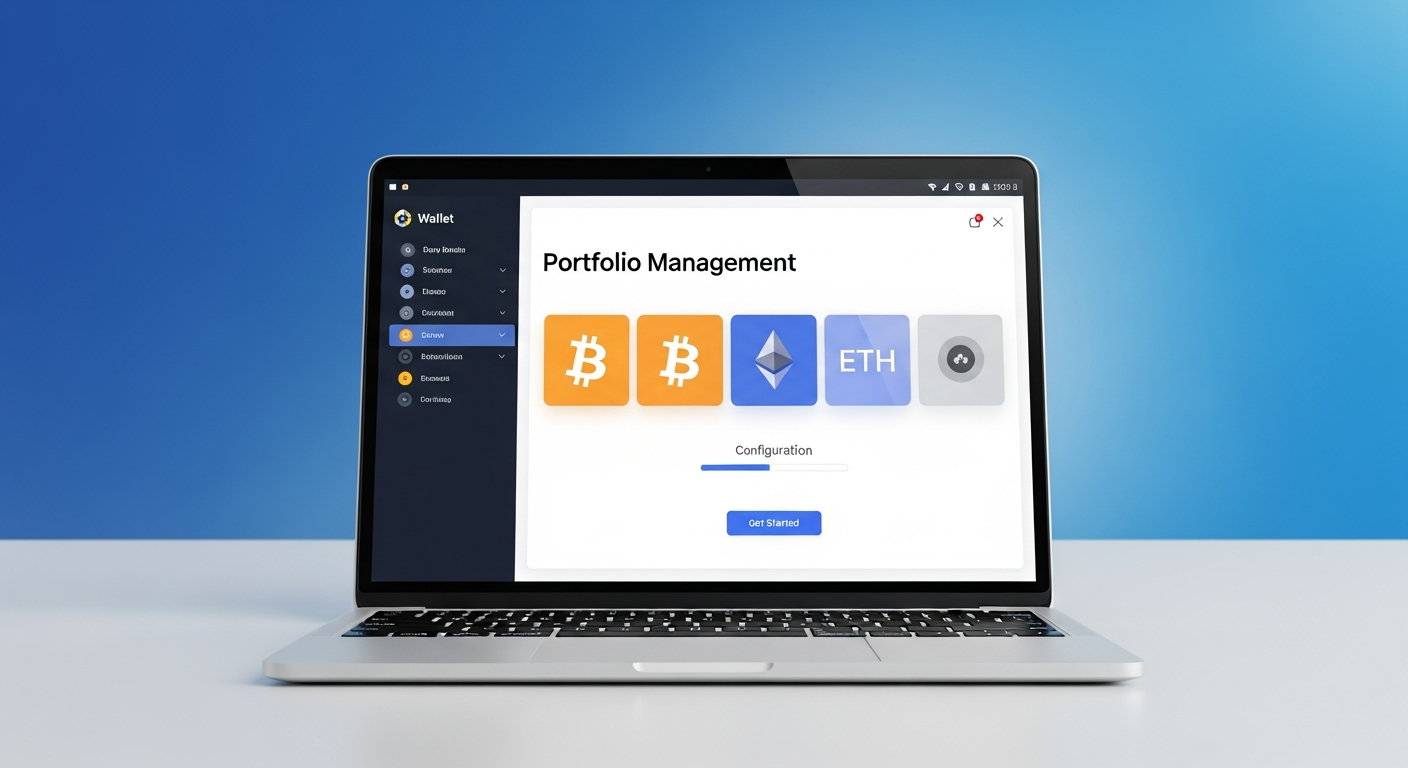
Ledger Wallet (formerly Ledger Live) is a comprehensive cryptocurrency management application that pairs with Ledger hardware wallets to provide secure portfolio tracking, staking, swapping, and DeFi access across 5,500+ digital assets.
Ledger Live는 사용자에게 디지털 경험에 대한 완전한 제어권을 제공하도록 설계된 강력한 동반 애플리케이션입니다. Ledger Live는 데이터를 보호하면서 안전하게 활동을 관리할 수 있게 합니다. 사용성과 보안을 결합하여 Ledger Live는 모든 활동의 중앙 허브 역할을 합니다.
작동 방식 Ledger Live
Ledger Live는 계정에 직접 연결되어 민감한 데이터가 장치를 절대 떠나지 않도록 보장합니다. 모든 작업은 확인이 필요하며, 무단 액세스로부터 사용자를 보호합니다. Ledger Live는 인터페이스 역할을 하며, 보안은 모든 수준에서 적용됩니다.
Ledger Live의 주요 기능
Setting up a Ledger hardware wallet and configuring Ledger Wallet for the first time is one of the most important steps you will take in your cryptocurrency journey. The initial configuration process establishes the security foundation for every future transaction, and getting it right from the beginning ensures your digital assets remain protected by hardware-grade security for years to come. This comprehensive guide walks you through the entire setup flow, from unboxing your device to executing your first hardware-signed transaction.
Ledger Live에서의 자산 관리
Before You Begin: What You Need Before starting the setup process, gather everything you need for a smooth experience. You will need your Ledger hardware wallet (any model: Nano Gen5, Stax, Flex, Nano X, or Nano S Plus), the USB cable included in the box, a computer or mobile device with internet access, and the recovery phrase card included with your device. Set aside approximately 20 minutes of uninterrupted time in a private location where you can safely record your recovery phrase without anyone observing.
보안이 핵심
Verify that your device packaging is intact and shows no signs of tampering. Ledger devices come sealed in tamper-evident packaging, and the device itself should not be pre-initialized when you first power it on. If your device arrives with a PIN code already set or a recovery phrase pre-filled, do not use it — contact Ledger support immediately, as this indicates the device may have been compromised before reaching you.
Ledger Live와 자기 보관
Downloading and Installing Ledger Wallet Navigate to the official Ledger website at ledger.com to download Ledger Wallet for your operating system. The application is available for Windows (10 or later, 64-bit), macOS (12 Monterey or later), Linux (Ubuntu 20.04 LTS or later), iOS (15 or later), and Android (10 or later). Always download from the official source to avoid counterfeit applications that could compromise your security.
구매, 판매 및 교환
Run the installer and follow the standard installation prompts for your platform. On macOS, drag the application to your Applications folder. On Windows, run the executable installer.
Ledger Live에서의 스왑
On Linux, the AppImage format requires no installation — simply make it executable and run it. Once installed, launch Ledger Wallet and select whether you are setting up a new device or connecting an existing one. Initializing Your Ledger Device Connect your Ledger device using the included USB cable.
Ledger Live로 스테이킹
For new devices, power on the device by pressing the appropriate button (varies by model). The device will guide you through initial setup: first, you will set a PIN code. Choose a PIN that is at least 4 digits (up to 8 digits for maximum security), and avoid obvious combinations like birthdays or sequential numbers.
지원되는 스테이킹 자산
You will need this PIN every time you unlock your device. After setting your PIN, the device will generate and display your 24-word recovery phrase one word at a time. Write down each word carefully on the recovery sheet included with your device, paying close attention to spelling and word order.
Ledger Live와 DeFi 접근
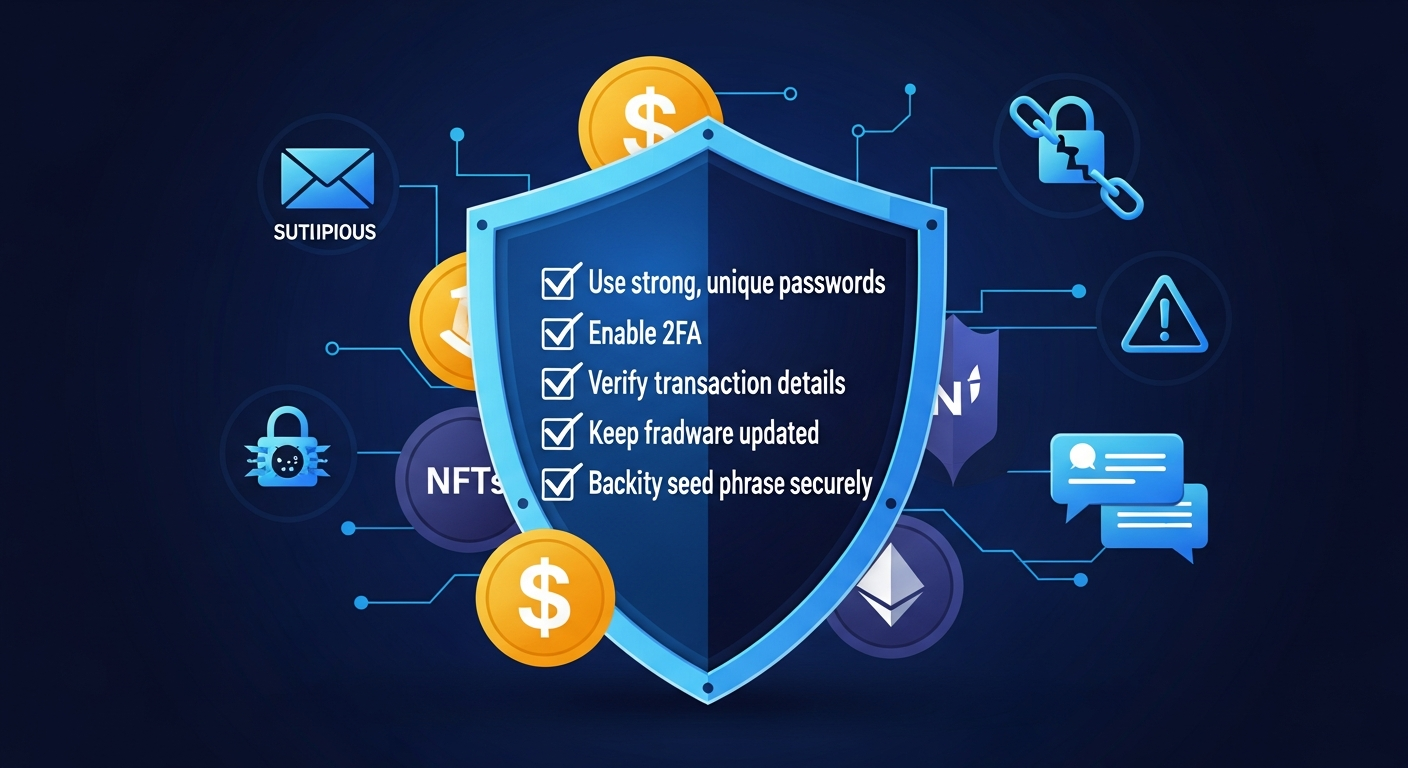
This recovery phrase is the master key to all accounts derived from this device — if your device is lost, stolen, or damaged, these 24 words are the only way to restore access to your funds on a new device. Recovery Phrase Best Practices Write the words on paper or engrave them on a metal backup plate for fire and water resistance Never photograph, screenshot, or digitally store your recovery phrase Never share your recovery phrase with anyone, including Ledger support Store the written backup in a secure location such as a safe or safety deposit box Consider creating a second physical copy stored in a separate secure location Verify each word carefully during the confirmation step on your device Pairing with Ledger Wallet With your device initialized, Ledger Wallet will detect the connected hardware wallet and display its model and firmware version. The application will run a genuine check to verify that your device contains an authentic Ledger Secure Element chip, confirming it has not been tampered with or replaced with a counterfeit component.
WalletConnect 및 DApp 통합
This cryptographic attestation is performed against Ledger’s root of trust and takes just a few seconds. If a firmware update is available, Ledger Wallet will prompt you to install it. We strongly recommend updating to the latest firmware before adding accounts, as updates include security patches, performance improvements, and support for additional blockchain networks.
Ledger Live 모바일 및 데스크톱
The firmware update process typically takes 5–10 minutes and does not affect your recovery phrase or account data. Adding Your First Accounts Click “Add Account” in Ledger Wallet and select the blockchain network you want to use. Popular choices for beginners include Bitcoin (BTC), Ethereum (ETH), and Solana (SOL).
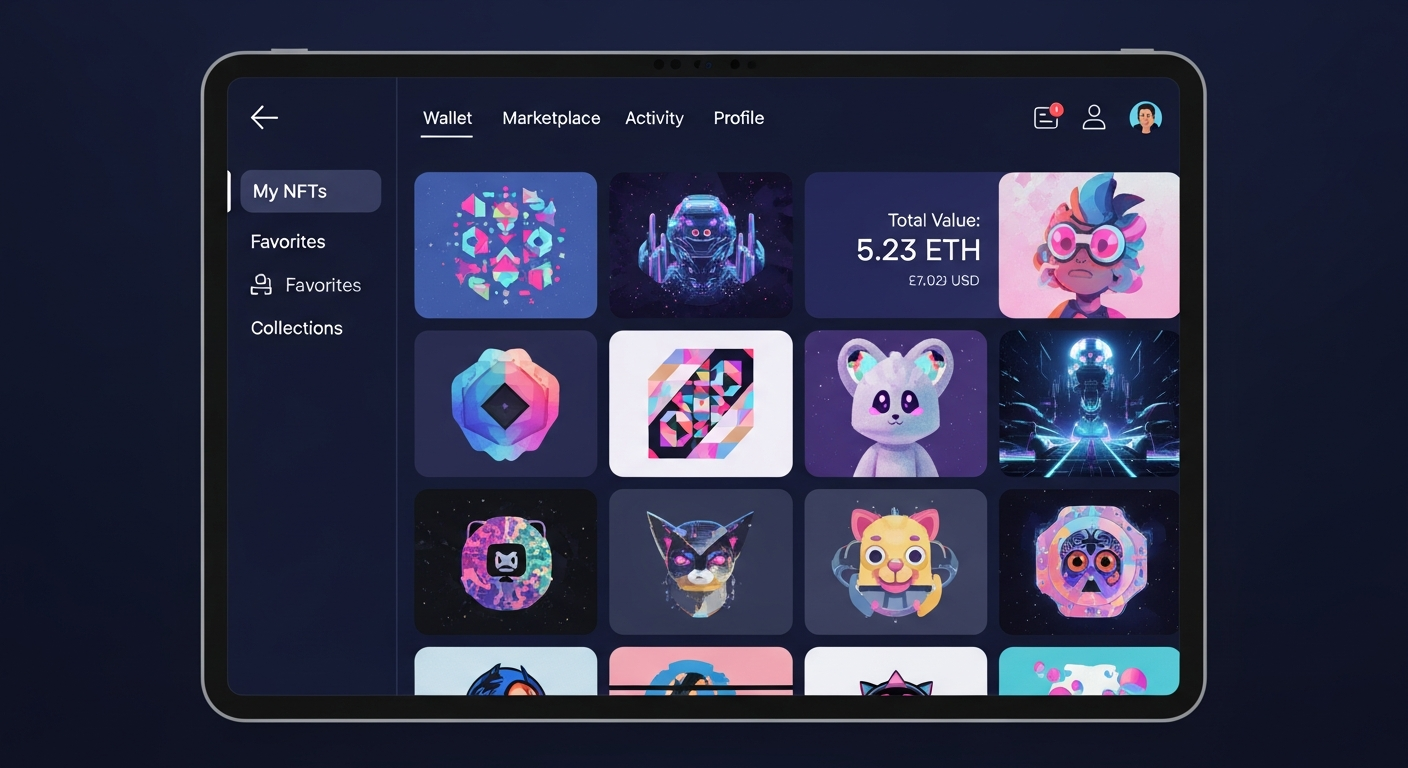
사용자 경험 및 인터페이스
Ledger Wallet will install the corresponding app on your hardware wallet if needed, then derive your account addresses from your seed phrase and synchronize your balances from the blockchain. You can add multiple accounts for different purposes — a savings account for long-term holding, a trading account for active management, and a DeFi account for protocol interactions. Each account has its own address but is derived from the same recovery phrase, so all accounts are restored together if you ever need to recover your device.
개인정보 보호 및 규정 준수
Your First Transaction To test your setup, try receiving a small amount of cryptocurrency. Click “Receive” on your chosen account, and Ledger Wallet will display your receiving address along with a QR code. Verify that the address displayed in the application matches the address shown on your hardware wallet screen before sharing it.
Ledger Live와 투명성
This address verification step prevents clipboard hijacking attacks where malware silently replaces copied addresses with an attacker’s address. Once you have received funds, try sending a small amount to verify the full transaction flow. Enter a recipient address and amount, review the transaction details displayed on your hardware wallet screen via Clear Signing, and confirm by pressing the physical button on your device.
Ledger Live의 미래
The transaction is broadcast to the network only after your hardware confirmation, completing the security loop. Next Steps After Setup With your Ledger Wallet configured and your first transaction complete, explore the additional features available to you. Set up staking to earn passive income on supported assets, configure the swap feature to exchange tokens at competitive rates, and explore the DeFi dApp browser to interact with decentralized protocols.
Web3 생태계에서의 Ledger Live
Each of these features operates under the same hardware wallet security model, ensuring your private keys remain protected in the Secure Element chip throughout every interaction. For ongoing security maintenance, periodically check for firmware updates, review your transaction history for any unauthorized activity, and ensure your recovery phrase backup remains secure and accessible. Ledger Wallet will notify you when important updates are available, helping you maintain the strongest possible security posture for your digital assets.

Comments
No comments yet. Be the first to share your thoughts!