ابحث على يوتيوب!

Ledger Live هو

Ledger Wallet (formerly Ledger Live) is a comprehensive cryptocurrency management application that pairs with Ledger hardware wallets to provide secure portfolio tracking, staking, swapping, and DeFi access across 5,500+ digital assets.

Ledger Live هو تطبيق مرافق قوي مصمم لمنح المستخدمين التحكم الكامل في تجربتهم الرقمية. Ledger Live يتيح لك إدارة أنشطتك بأمان مع الحفاظ على بياناتك محمية. من خلال الجمع بين سهولة الاستخدام والأمان، يعمل Ledger Live كمركز مركزي لجميع الأنشطة.

كيف يعمل Ledger Live

Ledger Live يتصل مباشرة بحسابك، مما يضمن عدم مغادرة البيانات الحساسة للجهاز أبداً. يجب تأكيد جميع الإجراءات لحماية المستخدمين من الوصول غير المصرح به. Ledger Live يعمل كواجهة، بينما يتم تطبيق الأمان على كل مستوى.

الميزات الرئيسية لـ Ledger Live

Setting up a Ledger hardware wallet and configuring Ledger Wallet for the first time is one of the most important steps you will take in your cryptocurrency journey. The initial configuration process establishes the security foundation for every future transaction, and getting it right from the beginning ensures your digital assets remain protected by hardware-grade security for years to come. This comprehensive guide walks you through the entire setup flow, from unboxing your device to executing your first hardware-signed transaction.

إدارة الأصول في Ledger Live

Before You Begin: What You Need Before starting the setup process, gather everything you need for a smooth experience. You will need your Ledger hardware wallet (any model: Nano Gen5, Stax, Flex, Nano X, or Nano S Plus), the USB cable included in the box, a computer or mobile device with internet access, and the recovery phrase card included with your device. Set aside approximately 20 minutes of uninterrupted time in a private location where you can safely record your recovery phrase without anyone observing.

الأمان في الصميم

Verify that your device packaging is intact and shows no signs of tampering. Ledger devices come sealed in tamper-evident packaging, and the device itself should not be pre-initialized when you first power it on. If your device arrives with a PIN code already set or a recovery phrase pre-filled, do not use it — contact Ledger support immediately, as this indicates the device may have been compromised before reaching you.

Ledger Live والحفظ الذاتي

Downloading and Installing Ledger Wallet Navigate to the official Ledger website at ledger.com to download Ledger Wallet for your operating system. The application is available for Windows (10 or later, 64-bit), macOS (12 Monterey or later), Linux (Ubuntu 20.04 LTS or later), iOS (15 or later), and Android (10 or later). Always download from the official source to avoid counterfeit applications that could compromise your security.

الشراء والبيع والتبادل

Run the installer and follow the standard installation prompts for your platform. On macOS, drag the application to your Applications folder. On Windows, run the executable installer.

التبادلات في Ledger Live

On Linux, the AppImage format requires no installation — simply make it executable and run it. Once installed, launch Ledger Wallet and select whether you are setting up a new device or connecting an existing one. Initializing Your Ledger Device Connect your Ledger device using the included USB cable.

التخزين مع Ledger Live

For new devices, power on the device by pressing the appropriate button (varies by model). The device will guide you through initial setup: first, you will set a PIN code. Choose a PIN that is at least 4 digits (up to 8 digits for maximum security), and avoid obvious combinations like birthdays or sequential numbers.

أصول التخزين المدعومة

You will need this PIN every time you unlock your device. After setting your PIN, the device will generate and display your 24-word recovery phrase one word at a time. Write down each word carefully on the recovery sheet included with your device, paying close attention to spelling and word order.

Ledger Live والوصول إلى DeFi

This recovery phrase is the master key to all accounts derived from this device — if your device is lost, stolen, or damaged, these 24 words are the only way to restore access to your funds on a new device. Recovery Phrase Best Practices Write the words on paper or engrave them on a metal backup plate for fire and water resistance Never photograph, screenshot, or digitally store your recovery phrase Never share your recovery phrase with anyone, including Ledger support Store the written backup in a secure location such as a safe or safety deposit box Consider creating a second physical copy stored in a separate secure location Verify each word carefully during the confirmation step on your device Pairing with Ledger Wallet With your device initialized, Ledger Wallet will detect the connected hardware wallet and display its model and firmware version. The application will run a genuine check to verify that your device contains an authentic Ledger Secure Element chip, confirming it has not been tampered with or replaced with a counterfeit component.

تكامل WalletConnect و DApp

This cryptographic attestation is performed against Ledger’s root of trust and takes just a few seconds. If a firmware update is available, Ledger Wallet will prompt you to install it. We strongly recommend updating to the latest firmware before adding accounts, as updates include security patches, performance improvements, and support for additional blockchain networks.

Ledger Live للجوال وسطح المكتب

The firmware update process typically takes 5–10 minutes and does not affect your recovery phrase or account data. Adding Your First Accounts Click “Add Account” in Ledger Wallet and select the blockchain network you want to use. Popular choices for beginners include Bitcoin (BTC), Ethereum (ETH), and Solana (SOL).

تجربة المستخدم والواجهة

Ledger Wallet will install the corresponding app on your hardware wallet if needed, then derive your account addresses from your seed phrase and synchronize your balances from the blockchain. You can add multiple accounts for different purposes — a savings account for long-term holding, a trading account for active management, and a DeFi account for protocol interactions. Each account has its own address but is derived from the same recovery phrase, so all accounts are restored together if you ever need to recover your device.

الخصوصية والامتثال

Your First Transaction To test your setup, try receiving a small amount of cryptocurrency. Click “Receive” on your chosen account, and Ledger Wallet will display your receiving address along with a QR code. Verify that the address displayed in the application matches the address shown on your hardware wallet screen before sharing it.

Ledger Live والشفافية

This address verification step prevents clipboard hijacking attacks where malware silently replaces copied addresses with an attacker’s address. Once you have received funds, try sending a small amount to verify the full transaction flow. Enter a recipient address and amount, review the transaction details displayed on your hardware wallet screen via Clear Signing, and confirm by pressing the physical button on your device.

مستقبل Ledger Live

The transaction is broadcast to the network only after your hardware confirmation, completing the security loop. Next Steps After Setup With your Ledger Wallet configured and your first transaction complete, explore the additional features available to you. Set up staking to earn passive income on supported assets, configure the swap feature to exchange tokens at competitive rates, and explore the DeFi dApp browser to interact with decentralized protocols.

Ledger Live في نظام Web3 البيئي

Each of these features operates under the same hardware wallet security model, ensuring your private keys remain protected in the Secure Element chip throughout every interaction. For ongoing security maintenance, periodically check for firmware updates, review your transaction history for any unauthorized activity, and ensure your recovery phrase backup remains secure and accessible. Ledger Wallet will notify you when important updates are available, helping you maintain the strongest possible security posture for your digital assets.

دليل البدء مع محفظة Ledger 2026: الإعداد الكامل

تعلم كيفية إعداد محفظة Ledger في 2026 مع هذا الدليل المفصل خطوة بخطوة.

إعداد محفظة أجهزة Ledger وتكوين Ledger Wallet لأول مرة هو أحد أهم الخطوات التي ستتخذها في رحلتك مع العملات الرقمية. عملية التكوين الأولية تؤسس أساس الأمان لكل معاملة مستقبلية، والقيام بها بشكل صحيح من البداية يضمن بقاء أصولك الرقمية محمية بأمان على مستوى الأجهزة لسنوات قادمة. يقدم هذا الدليل الشامل خطوات الإعداد بالكامل، بدءًا من فتح جهازك إلى تنفيذ أول معاملة موقعة بواسطة الأجهزة.

قبل أن تبدأ: ما الذي تحتاجه

قبل بدء عملية الإعداد، اجمع كل ما تحتاجه لتجربة سلسة. ستحتاج إلى محفظة أجهزة Ledger (أي نموذج: Nano Gen5، Stax، Flex، Nano X، أو Nano S Plus)، كابل USB المرفق في العلبة، جهاز كمبيوتر أو جهاز محمول مع اتصال بالإنترنت، وبطاقة عبارة الاسترداد المرفقة مع جهازك. خصص حوالي 20 دقيقة من الوقت بدون انقطاع في مكان خاص حيث يمكنك تسجيل عبارة الاسترداد بأمان دون أن يراقبك أحد.

تحقق من أن تغليف جهازك سليم ولا يظهر عليه أي علامات عبث. تأتي أجهزة Ledger مغلفة بتغليف يظهر العبث، ويجب ألا يكون الجهاز مهيأ مسبقًا عند تشغيله لأول مرة. إذا وصل جهازك مع رمز PIN مضبوط مسبقًا أو عبارة استرداد مملوءة مسبقًا، فلا تستخدمه — اتصل بدعم Ledger فورًا، حيث يشير ذلك إلى أن الجهاز قد تم اختراقه قبل وصوله إليك.

تنزيل وتثبيت Ledger Wallet

انتقل إلى الموقع الرسمي لـ Ledger على ledger.com لتنزيل Ledger Wallet لنظام التشغيل الخاص بك. التطبيق متاح لأنظمة Windows (10 أو أحدث، 64-بت)، macOS (12 Monterey أو أحدث)، Linux (Ubuntu 20.04 LTS أو أحدث)، iOS (15 أو أحدث)، وAndroid (10 أو أحدث). قم دائمًا بتنزيل التطبيق من المصدر الرسمي لتجنب التطبيقات المزيفة التي قد تعرض أمانك للخطر.

قم بتشغيل المثبت واتبع تعليمات التثبيت القياسية لنظامك. على macOS، اسحب التطبيق إلى مجلد التطبيقات. على Windows، قم بتشغيل المثبت التنفيذي. على Linux، لا يتطلب تنسيق AppImage التثبيت — فقط اجعله قابلًا للتنفيذ وقم بتشغيله. بمجرد التثبيت، قم بتشغيل Ledger Wallet واختر ما إذا كنت تقوم بإعداد جهاز جديد أو توصيل جهاز موجود.

تهيئة جهاز Ledger الخاص بك

قم بتوصيل جهاز Ledger الخاص بك باستخدام كابل USB المرفق. بالنسبة للأجهزة الجديدة، قم بتشغيل الجهاز بالضغط على الزر المناسب (يختلف حسب النموذج). سيقوم الجهاز بإرشادك خلال الإعداد الأولي: أولاً، ستقوم بتعيين رمز PIN. اختر رمز PIN يتكون من 4 أرقام على الأقل (حتى 8 أرقام لتحقيق أقصى درجات الأمان)، وتجنب التركيبات الواضحة مثل تواريخ الميلاد أو الأرقام المتسلسلة. ستحتاج إلى هذا الرمز في كل مرة تقوم فيها بفتح جهازك.

بعد تعيين رمز PIN، سيقوم الجهاز بتوليد وعرض عبارة الاسترداد المكونة من 24 كلمة كلمة واحدة في كل مرة. قم بكتابة كل كلمة بعناية على ورقة الاسترداد المرفقة مع جهازك، مع الانتباه جيدًا إلى التهجئة وترتيب الكلمات. هذه العبارة هي المفتاح الرئيسي لجميع الحسابات المشتقة من هذا الجهاز — إذا فقد جهازك أو سُرق أو تعرض للتلف، فإن هذه الكلمات الـ 24 هي الطريقة الوحيدة لاستعادة الوصول إلى أموالك على جهاز جديد.

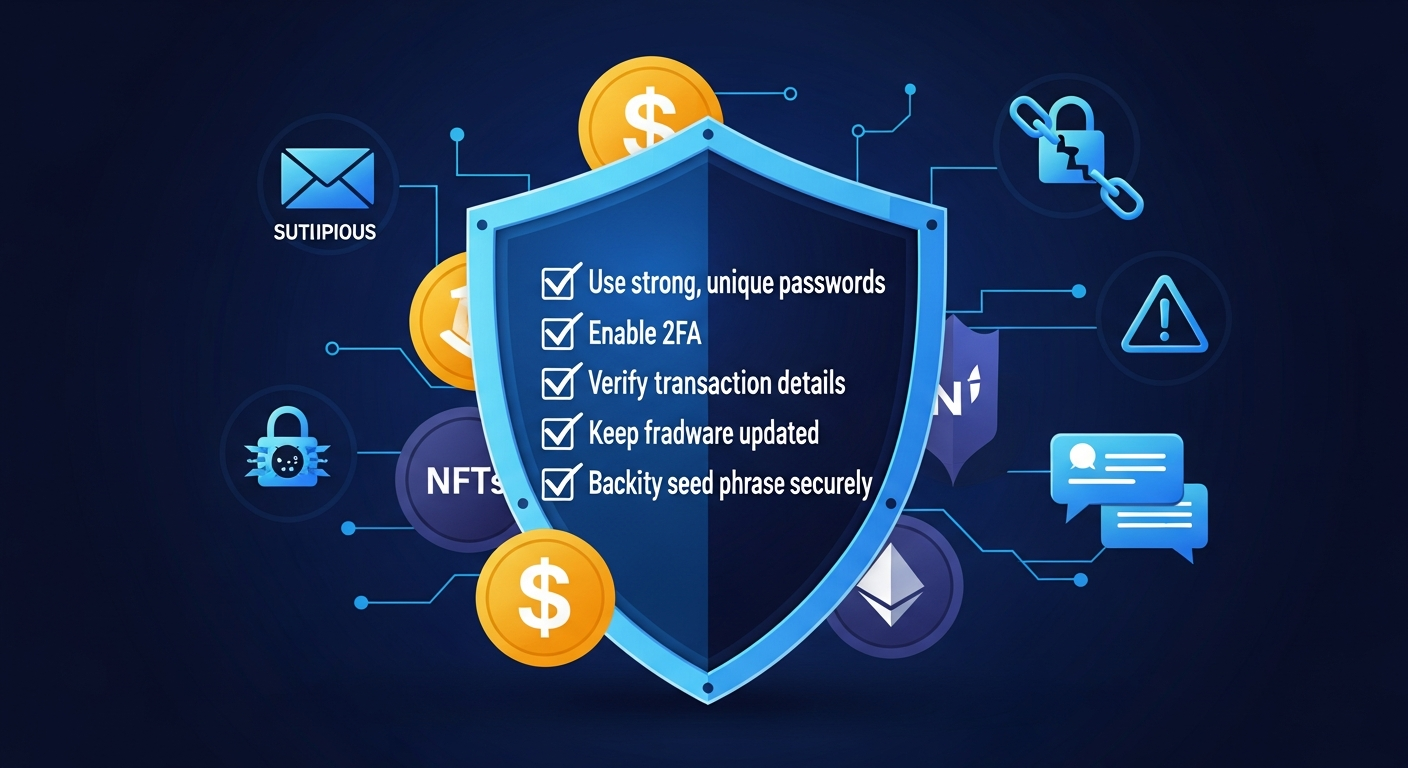
أفضل الممارسات لعبارة الاسترداد

  • اكتب الكلمات على ورقة أو انقشها على لوحة احتياطية معدنية لمقاومة الحريق والماء
  • لا تقم بتصوير أو أخذ لقطة شاشة أو تخزين عبارة الاسترداد رقميًا
  • لا تشارك عبارة الاسترداد مع أي شخص، بما في ذلك دعم Ledger
  • قم بتخزين النسخة المكتوبة في مكان آمن مثل خزنة أو صندوق ودائع آمن
  • فكر في إنشاء نسخة مادية ثانية مخزنة في مكان آمن منفصل
  • تحقق من كل كلمة بعناية أثناء خطوة التأكيد على جهازك

الاقتران مع Ledger Wallet

مع تهيئة جهازك، سيقوم Ledger Wallet باكتشاف محفظة الأجهزة المتصلة وعرض نموذجها وإصدار البرنامج الثابت الخاص بها. سيقوم التطبيق بإجراء فحص أصالة للتحقق من أن جهازك يحتوي على شريحة Ledger Secure Element أصلية، مما يؤكد أنه لم يتم العبث به أو استبداله بمكون مزيف. يتم إجراء هذا التصديق التشفيري مقابل الجذر الموثوق لـ Ledger ويستغرق بضع ثوانٍ فقط.

إذا كان هناك تحديث للبرنامج الثابت متاح، سيطلب منك Ledger Wallet تثبيته. نوصي بشدة بالتحديث إلى أحدث إصدار من البرنامج الثابت قبل إضافة الحسابات، حيث تتضمن التحديثات تصحيحات أمان، تحسينات في الأداء، ودعم لشبكات البلوكشين الإضافية. تستغرق عملية تحديث البرنامج الثابت عادةً من 5–10 دقائق ولا تؤثر على عبارة الاسترداد أو بيانات الحساب.

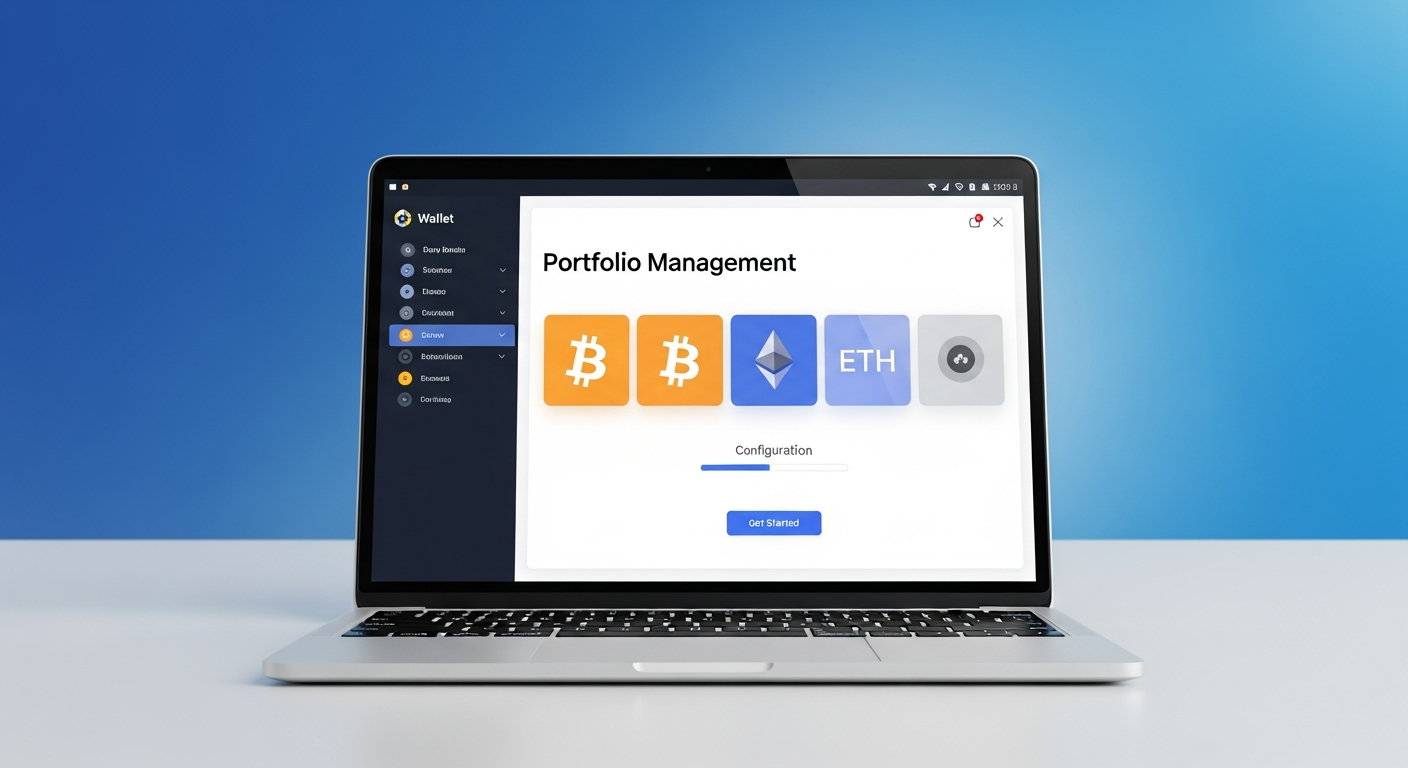
إضافة حساباتك الأولى

انقر على “إضافة حساب” في Ledger Wallet واختر شبكة البلوكشين التي تريد استخدامها. الخيارات الشائعة للمبتدئين تشمل Bitcoin (BTC)، Ethereum (ETH)، وSolana (SOL). سيقوم Ledger Wallet بتثبيت التطبيق المقابل على محفظة الأجهزة الخاصة بك إذا لزم الأمر، ثم يشتق عناوين حسابك من عبارة البذور ويزامن أرصدتك من البلوكشين.

يمكنك إضافة حسابات متعددة لأغراض مختلفة — حساب توفير للاحتفاظ طويل الأجل، حساب تداول للإدارة النشطة، وحساب DeFi للتفاعل مع البروتوكولات. لكل حساب عنوانه الخاص ولكنه مشتق من نفس عبارة الاسترداد، لذا يتم استعادة جميع الحسابات معًا إذا احتجت يومًا لاستعادة جهازك.

معاملتك الأولى

لاختبار إعدادك، حاول استلام كمية صغيرة من العملات الرقمية. انقر على “استلام” في الحساب الذي اخترته، وسيعرض Ledger Wallet عنوان الاستلام الخاص بك مع رمز QR. تحقق من أن العنوان المعروض في التطبيق يطابق العنوان المعروض على شاشة محفظة الأجهزة الخاصة بك قبل مشاركته. تمنع خطوة التحقق من العنوان هذه هجمات اختطاف الحافظة حيث يقوم البرامج الضارة باستبدال العناوين المنسوخة بصمت بعنوان المهاجم.

بمجرد استلام الأموال، حاول إرسال كمية صغيرة للتحقق من تدفق المعاملة بالكامل. أدخل عنوان المستلم والمبلغ، واستعرض تفاصيل المعاملة المعروضة على شاشة محفظة الأجهزة الخاصة بك عبر التوقيع الواضح، وقم بالتأكيد بالضغط على الزر الفعلي على جهازك. يتم بث المعاملة إلى الشبكة فقط بعد تأكيدك على الجهاز، مما يكمل حلقة الأمان.

الخطوات التالية بعد الإعداد

مع تكوين Ledger Wallet وإكمال معاملتك الأولى، استكشف الميزات الإضافية المتاحة لك. قم بإعداد التخزين لكسب دخل سلبي على الأصول المدعومة، قم بتكوين ميزة التبديل لتبادل الرموز بأسعار تنافسية، واستكشف متصفح dApp الخاص بـ DeFi للتفاعل مع البروتوكولات اللامركزية. تعمل كل هذه الميزات تحت نفس نموذج أمان محفظة الأجهزة، مما يضمن بقاء مفاتيحك الخاصة محمية في شريحة Secure Element طوال كل تفاعل.

لصيانة الأمان المستمرة، تحقق دوريًا من تحديثات البرنامج الثابت، استعرض سجل معاملاتك لأي نشاط غير مصرح به، وتأكد من أن نسخة احتياطية من عبارة الاسترداد الخاصة بك تظل آمنة ويمكن الوصول إليها. سيقوم Ledger Wallet بإعلامك عندما تكون هناك تحديثات مهمة متاحة، مما يساعدك على الحفاظ على أقوى وضع أمني ممكن لأصولك الرقمية.

Comments

Leave a Comment

Your comment will appear after moderation.

No comments yet. Be the first to share your thoughts!